Music Inventory Barcoding for Beginners
There are so many instruments, sheet music and more that I need to get a firm grip on - I’m overwhelmed! Sound familiar? Getting your inventory barcoded, or if you prefer QR-coded, can seem like a daunting or even impossible task. So daunting in fact, that you may have put this particular project off until the end of the school year, or tabled it until the summer or scrapped it all together. While imagining how many hours of work it could take to itemize and barcode your music program’s inventory might feel overwhelming, the effort will ultimately be one of your smartest time investments. Here’s why. Barcoding your instruments and other items makes your inventory check in and check out process easier and faster! Even better, if a musical instrument or accessory item is lost or left behind by a student, the QR code you created can be scanned by any phone camera to see who to contact and report the missing item so it can be safely returned. Ready to experience more peace of mind and restful nights? Read on!
Barcoding Set Up is a Team Effort
So, what is the best way to begin? Our suggestion would be to look at the music inventory barcoding process as a set of smaller tasks that can be done over a longer period in small increments of time. Consider recruiting others to help - assistants, student or parent helpers or volunteers - where you can delegate some of the barcoding tasks and accomplish the project even faster together. Breaking the process down into manageable chunks can take some pressure off of you, and eliminate large amounts of time in your busy schedule being consumed with barcoding set up activities.
Make a Game Plan for Barcoding Success
Barcoding your music inventory will take some forethought to ensure the tasks run smoothly with a certain level of quality that will last. Getting a ‘game plan’ together for the project and sharing it with your helpers before you begin the actual tasks is essential. Here is some sage advice we’ve heard from our community of experienced music educators for you to consider:
- Who: Identify who will be helping with the barcoding project and outline the specific tasks they will be working on with you.
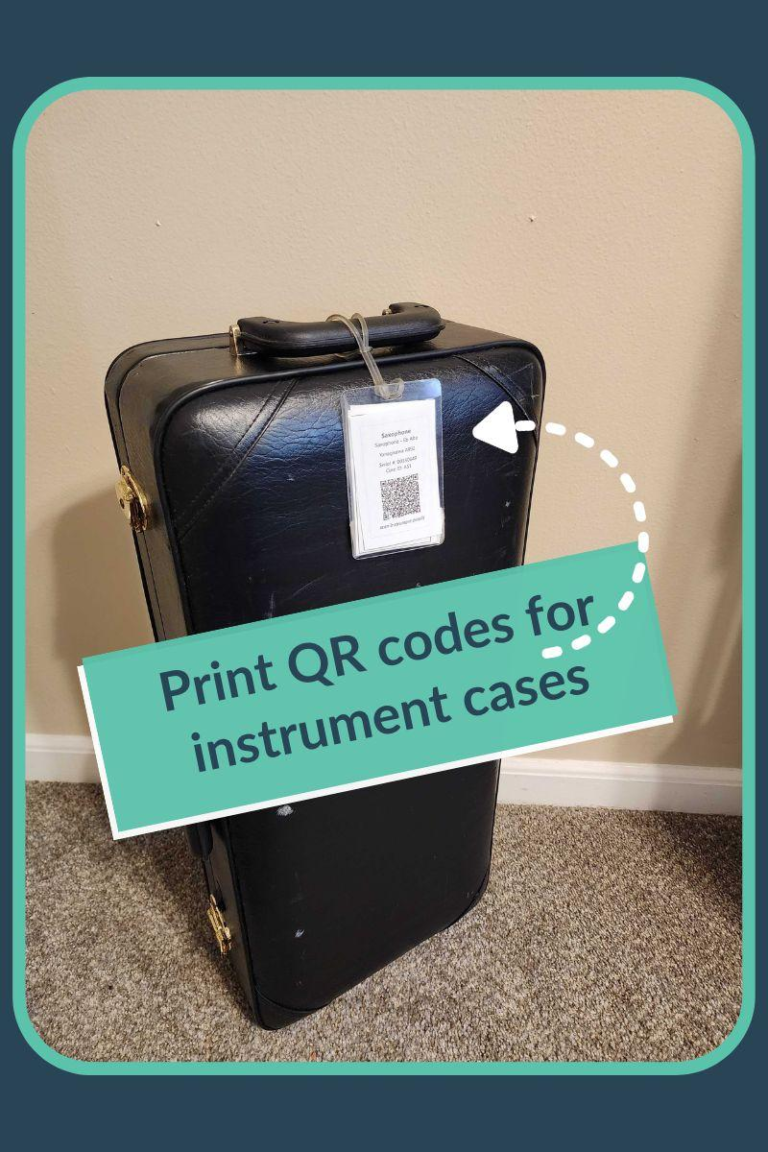
- What: Choose the data fields you want to collect from the individual barcode, keeping in mind what information is actually required for importing, versus what would be nice to have. Make sure you have the necessary materials on hand. Purchase the printing labels (non-stick) and luggage tags for cases at least 2 weeks in advance of starting your project. Pro Tip - Use labels that are tear and waterproof and make sure you have a ready supply of extras.
- How: Depending on the quantity of inventory items you have to barcode, consider starting with one section, such as itemizing and barcoding all of your brass instruments, then moving to the next instrument, sheet music or other inventory sections. Or you may find it more efficient to split up your barcoding team by the section of instrument or other music inventory areas they will be working on. Determine the method for capturing the barcode data. Will it be through a third-party system (such as CutTime), through a more basic method (such as Google Sheets)? Keep in mind, multiple helpers will need to have access to either the inventory systems or files you use, so that more than one person can work on the barcoding input simultaneously.
- When: Decide on a time allotment and number of days a week that you’ll be working. Remember - you can accomplish a nice chunk of barcoding in 15 minutes after school with your parent volunteers, or 20 minutes during lunch with your student aids.
- Where: As your music inventory barcoding project will take place over a period of time, consider where is best to store finished vs. work in progress vs. to be items.
- Fun Factors: Think about how to make barcoding sessions enjoyable and social for you and your helpers. Background music, snacks and even a ‘barcoding challenge or contest’ can inspire your team to stick with you through the project. Consider giving a small token of appreciation (such as a Starbucks gift card or a nominal piece of spirit wear) to the person who barcodes the most items in your music inventory.
Ready, Set, Start Barcoding!
Now that you have your game plan in place, it’s time to start itemizing and printing barcodes/QR codes for your music instruments and their cases, sheet music, and other related program items.
Step 1: Enter the required and optional data (if time) about the inventory item into your system.
Step 2: Print off your barcode/QR code labels and start placing them on the items. Pro tip: Make sure to place the barcode/QR code in a spot on the item where it is least likely to get damaged. If you would prefer to print your labels after you’ve completed your itemization process, that’s up to you. It might make the process more accurate and efficient to input, print and label items with your barcodes as you go.
Step 3: Once the barcode or QR code has been applied to your item, scan and confirm that it correctly matches with the data associated to the item in your system/file. For example, you scan an alto sax and it comes up as a trombone. This could mean that the wrong label was applied and you’ll need to swap it out. We strongly advise testing and confirming the application as you go - at a minimum, it is wise to check each time you print off a new round of barcodes or QR codes. It is easier to catch a mistake right away when it's most easily correctable than to have to scrap and start the entire sequence over again.
Enjoy the Rewards of Barcoding Nirvana
Once your music inventory barcoding project is complete, you will enjoy the confidence of knowing your items can be easily scanned and identified from any location - no more panic attacks with misplaced or lost instrument, attire, sheet music, or accessory situations. You will also reap the time saving rewards during your semi annual inventory audits, start of school year check ins and end of school year check outs. Trust us, you will be a barcoding ace in no time and your peers will want to follow your amazing example and implement a similar barcoding set up for their fine arts programs. The investment is well worth it.
Are you a current CutTime user? For more detailed guidance, check out our ‘classic’ barcoding tips here or if you are barcoding/QR coding with our next generation CutTime system, this article here.
Not a CutTime User yet?
Watch how you can use barcoding for check in and check out and print instrument case labels with CutTime here.